Mac에서 Terminal 단축어(shortcut) 설정하기(with iTerm2, appleScript)
by Glenn
iTerm, appleScript를 이용하여 화면분할된 Terminal 간편하게 실행하기
우선 iTerm2을 설치해주세요.
iTerm2 설치후 스크립트 편집기를 실행해주세요.
Finder > 응용 프로그램 > 유틸리티 > 스크립트 편집기
path : /Applications/Utilities/Script Editor.app
스크립트 편집기에서 아래내용을 붙여넣고 저장해주세요.
저장할때 파일포맷을 스크립트 또는 응용프로그램을 선택해주세요.
스크립트: *.scpt으로 저장되며 아이콘을 더블클릭하여 실행시 스크립트 편집기 실행응용프로그램: *.app으로 저장되며 아이콘을 더블클릭하여 실행시 확인팝업후에 스크립트 내용이 실행
tell application "iTerm"

  try
    set _session to current session of current window
  on error
    set _term to (create window with profile)
    tell _term
      launch session "Default"
      set _session to current session
    end tell
  end try

  # Create tab.
  tell current window
    create tab with default profile
  end tell

  # Create sessions.
  tell current session of current window
    # 수평으로 화면을 분할 x 2
    split horizontally with default profile
    split horizontally with default profile
  end tell

  # 각각 수평으로 분할된 Terminal을 수직으로 또 분할
  tell session 1 of current tab of current window
    split vertically with default profile
  end tell

  tell session 3 of current tab of current window
    split vertically with default profile
  end tell

  tell session 5 of current tab of current window
    split vertically with default profile
  end tell

  # 분할된 터미널에 명령어 입력이 필요할경우
  # 위에서 분할된 Terminal을 반복하면서 명령어를 수행
  repeat with i from 1 to 6
    tell session i of current tab of current window

      # 1초 동안 대기(delay가 없으면 수행속도에 따라서 하나의 터미널에 여러번 입력되기도 하더라구요.)
      delay 1

      # 원하는 명령어를 입력
      # write text ("input command here!!")
      write text ("ls -al")
    end tell
  end repeat
end tell
iTerm2을 실행후 아래 명령어를 입력합니다.
// ex)스크립트파일 위치가 다음과 같다면 /dev/script/terminal_quick.scpt
osascript /dev/script/terminal_quick.scpt
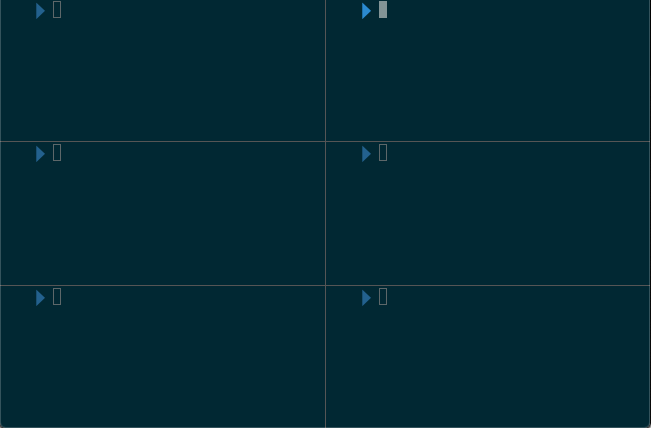
아래처럼 터미널이 분할되서 수행되면 정상입니다.
Subscribe via RSS